Few things are more frustrating than meticulously making use of your avoid bubbles in nail polish, most effective to be left with a bubbly mess. Bubbles can destroy the smooth end of your nail cutting and leave you less than glad about the consequences. But worry no longer! With some simple recommendations and tricks, you could banish bubbles from your nail polish and attain faultless, salon-worthy nails whenever.
Nothing is as annoying as seeing tiny air bubbles in your nail polish. Nail Polish Bubbles can destroy your nail filing in no time. These bubbles are shaped by air trapped in the layers of nail polish. Bubbles are challenging to remove with speedy fixes; hence, we’ve compiled some guidelines to permit you to acquire the smoothest, brightest manicure. Dear nail art warriors, permit’s pass burst a few bubbles! Before we get down to enterprise, allow us to recollect how bubbles occur.
What causes nail polish bubbles?
Bubbles are inevitable and a remarkable problem in manicures. Wouldn’t it be excellent to discover what reasons to avoid bubbles in nail polish and how to beat them? Bubbles arise by and large during drying after the nail polish finishes. Bubbles can also rise because of thick polish or expired polish. These tiny air bubbles can result from applying the next coat base to the nail without draining the polish. Now you know how bubbles are fashion! How will you beat these smudges?
TIPS FOR AVOIDING BUBBLES IN NAIL POLISH
Do bubbles smear your nail polish? Have you ever noticed bubbles around your nail layers after using polish? Bear in mind these hints:
Clean your nails
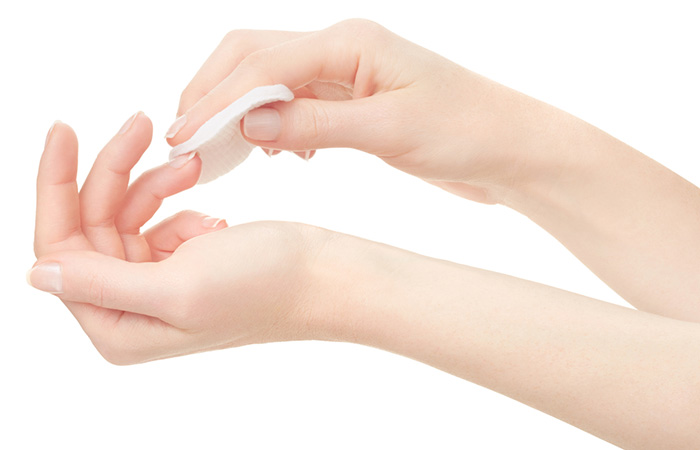
You want to prep your nails earlier than polishing them. The pores and skin produce sebum, which moisturizes the frame, including the nails. Oil bureaucracy layers around the nails and mixes with polish, which stops the paint from staying. Wash your hands with soap and water. After letting them dry, use an acetone-wet cotton ball to clean your nails. Also, use a gentle thistle brush to ease the nail bed and prevent the accumulation of dust below the nails.
Soak your nails with vinegar
After cleaning the nails with acetone, dip cotton wool in vinegar and smooth your nails to strip them of oils left from polish remover. Soak your nails with vinegar to prevent bubbles.
Dry nails thoroughly
Ensure nails are dried well after using vinegar. Test that the pores, skin folds, and nails are well dried about 10 minutes earlier than attaining the nail polish. Ensure you cut your nails in ample, open space for airflow, as polish can release dangerous fumes while applied in an enclosed area.
Inspect your polish
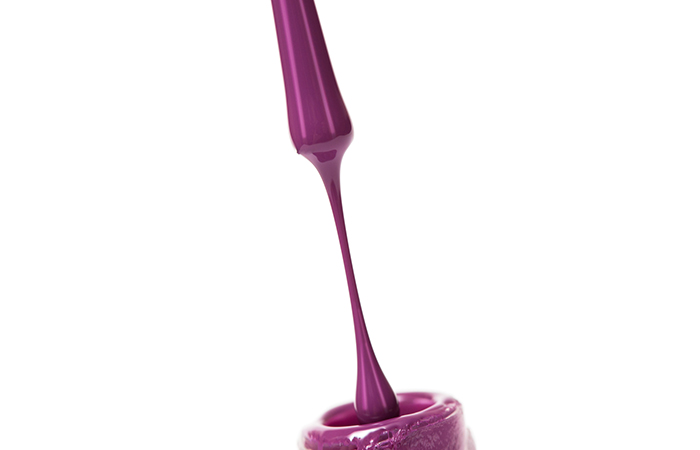
It’s OK to check your polish before the software. Swipe a thin layer on your nail to test if it’s the proper one. For thick polish, upload lacquer to make it thinner. Avoid using acetone or polish remover to thin polish, as this can lessen its efficiency.
Follow A base coat

A base coat makes for a smooth finish, like putting on primer before the basis. It also suppresses pores and skin discoloration and allows manicures to last long. Start applying polish from the center of the nail to create a base coat. Swish skinny layers of polish to shape thick coats, which can be allowed to dry for 5 minutes earlier than making use of the primary polish. Repeat the same process for different nails; make specific coats well-dried.
Search for Conducive surroundings
We already mentioned that polish does not work well in warm situations as it can form bubbles. Therefore, ensure you paint your nails in groovy, dry surroundings.
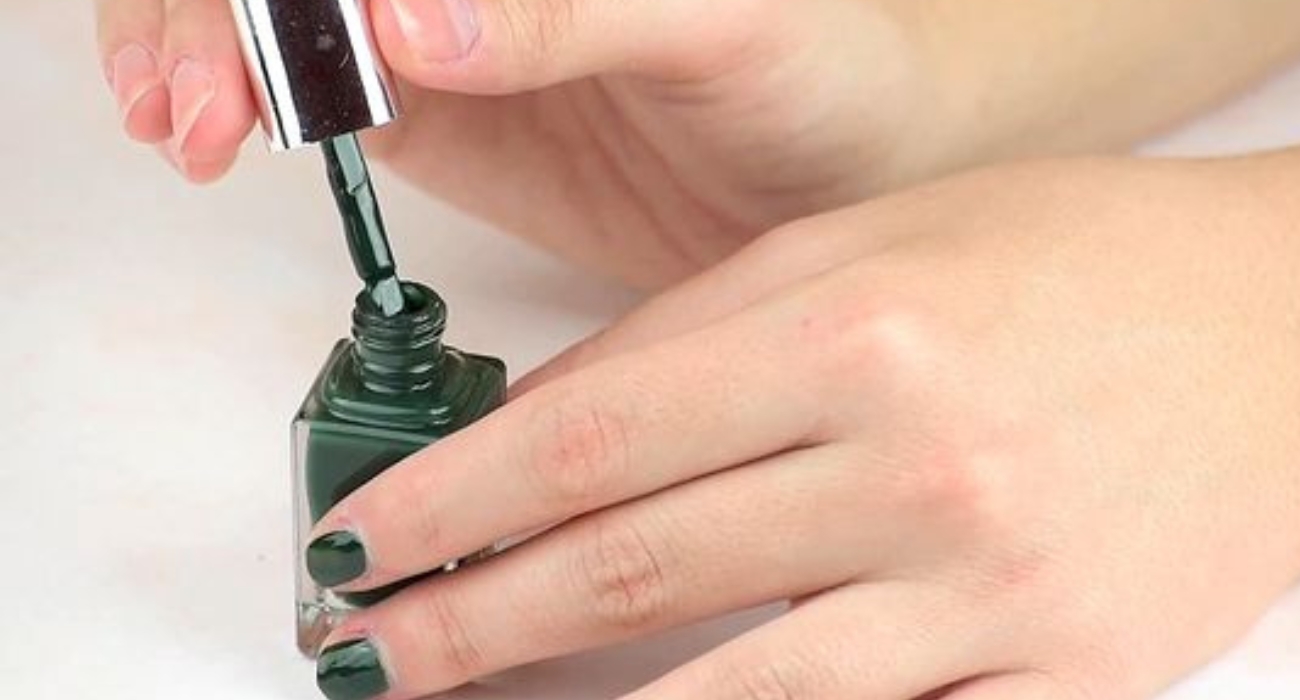
Roll the nail polish bottle
Most people shake the polish bottle, which seems to be the primary purpose of bubbles. Those bubbles are transferred to your nails at some point during nail filing. Is your nail polish separated? Roll the bottle to combine the content while maintaining it in an upright position. Face up to the urge to shake your nail polish bottle, but in case you do, permit it to stay for a few minutes before use.
Follow thin Layers of polish
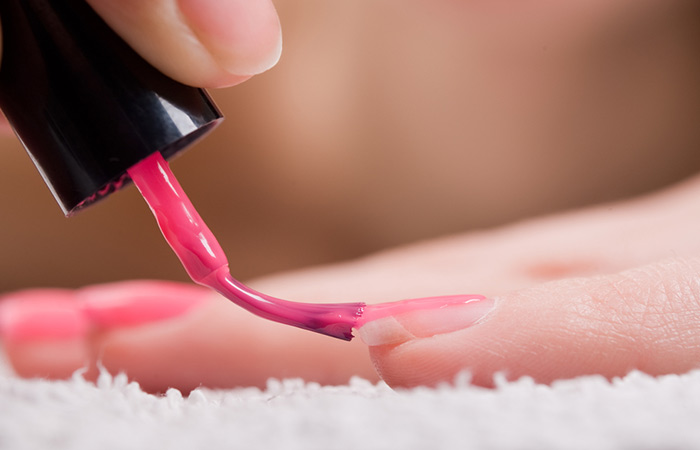
An easy and delightful nail cutting depends on the proper application of nail polish. Make sure your brush is not stained with polish. It is irritating to smooth streaks and bubbles—placed skinny layers of nail polish on the bottom coat. Thick polish can take a long period to dry; as a result, it causes bubbles. If you need a glittery and ideal nail finish, apply polish thinly. It’s first-class to use polish in strokes using the one-stroke approach. You could decide to draw three sluggish strokes on every nail. Using a broom, follow the pinnacle coat at the nail to conceal it, at the same time as stopping polish overlay and bubbles. Gently swipe polish on nails while painting.
Avoid dipping brush in bottle repeatedly
Frequent dipping of the brush in polish can cause heaps of bubbles, resulting in a smudged nail end. Allow the brush to enter the bottle slowly and gently to prevent air from entering.
Permit the coat to dry
In any respect, it costs, so avoid touching your nails till they are dry. Polish that does not dry on time can stay for a longer time. Also, forestall any shape of hand movements that may result in bubbles inside the bottle. Some polish dries inside 5 mins. It is expedient to permit the primary coat to dry well because it affects the look and texture of the last coat. You may need to apply a second coat to make your nails vivid. A third coat can be required if you’re using pastel or neon polish.
Also Read: How to Apply Eyeliner with Perfect Form (and Straight Results) Every Time
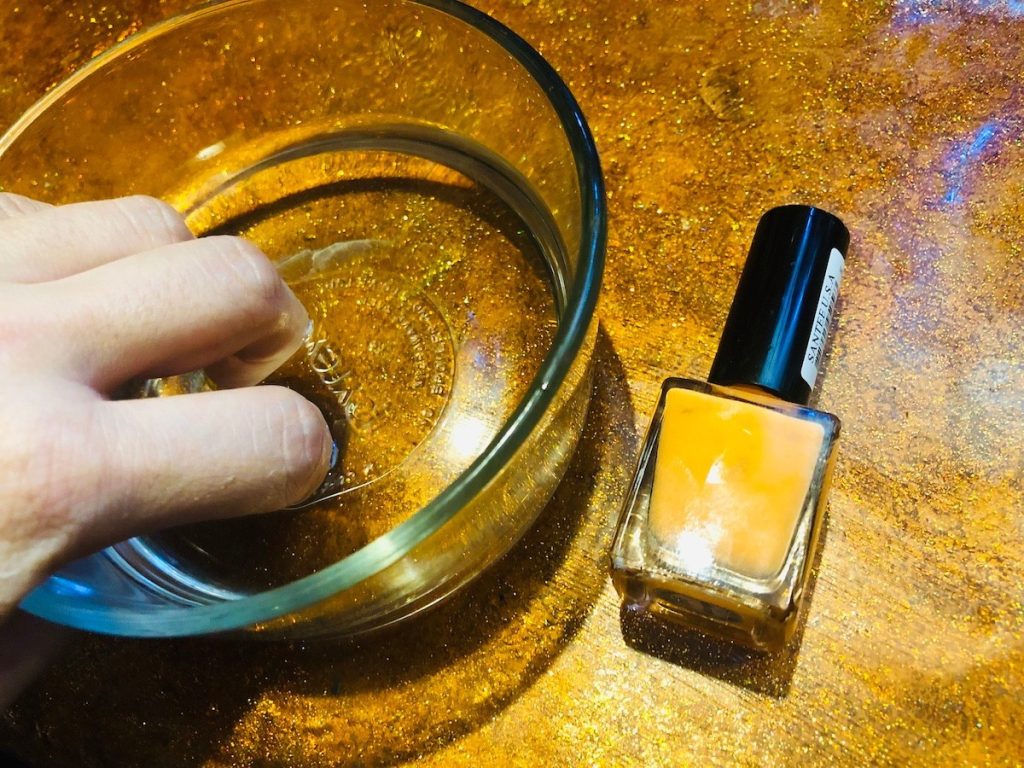
Dip your nails in a bowl of cold water
Do you wish to extend your polish’s shelf life? Dip your arms in a bowl or basin of cold water for a brief time. If you’ve just painted your nails, you will need to stay away from warm showers for about two hours, as this weakens the bond between polish and nails.
Store Your Nail Polish Properly
Make sure your nail polish is protected after use. Polish exposed to air receives thickening, making it liable to bubbles. Preserve your polish for your closet or on the cloth cabinet. Has your polish been stored in a warm vicinity for too long? Maintain it in a cool compartment like a refrigerator for about half an hour.
Exchange your nail polish after a while
Antique nail polish receives thick with time. Nail Polish makes it challenging to note the bubbles. Is your nail polish as much as 12 months? It’s about time you replace it. Get a new one. Do you need to thin out an old polish? Upload a drop or two drops of nail polish remover to the polish and shake gently. However, this could lead to the chipping and breaking of bonds between the nail polish.
Conclusion
If all else fails after following those steps, use a sticker or nail sticker to remove bubbles. Make sure you observe the hints noted above for bubble-loose nail polish. You may have tried every attempt to dispose of these traumatic factors; it’s about time you toss your nail polish away.
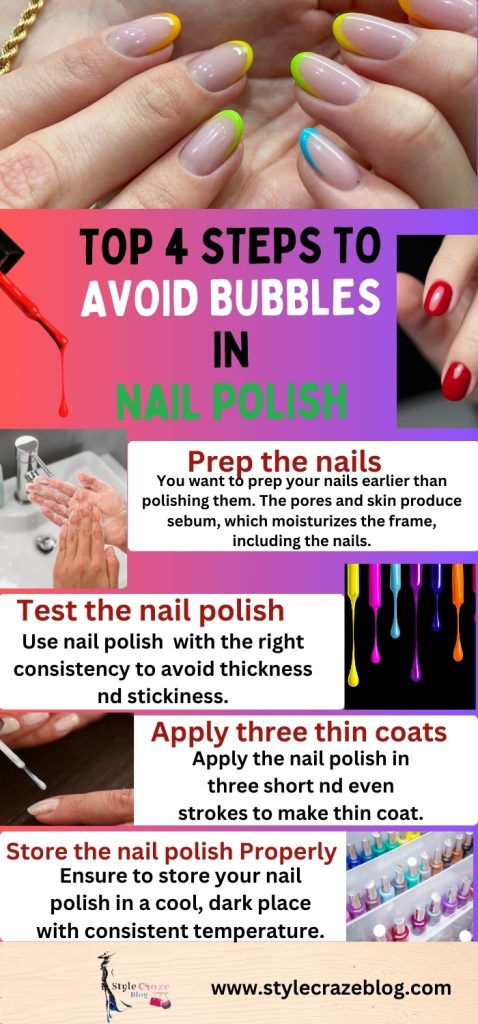
Infographic: Top 4 Easy Steps To Avoid Bubbles In Nail Polish
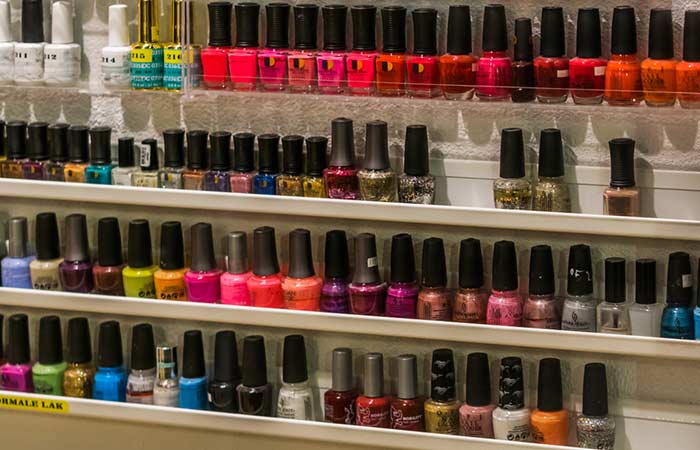
Almost every lady owns more than one nail polish to make their nails appear bright, colorful, and beautiful. Who doesn’t want a smooth nail finish without splurging at a salon? However, while you try to portray your nails at home, small nail polish mistakes can break the complete look. However, you can use more than one nail polish hint to avoid bubbles and consistency problems when applying nail polish yourself.
Check out the infographic underneath to remind yourself of a few approaches you can use to avoid bubbles from performing the subsequent time you apply nail polish yourself.

Nail polish may additionally bubble up because of diverse motives. Everything from how you save your polish to how you prep your nails before applying the polish might be a motive for routine bubbles that spoil your, in any other case, meticulously accomplished portions of artwork. Once they appear for your nail filing, there is only a little you can do about it besides starting over. But, by following those recommendations on how to avoid bubbles in nail polish, you can put off the problem at its roots. Despite these measures, if your nail polish still turns up bubble, it is time to trash it and get a brand-new one.
Infographic: Top 4 Steps To Avoid Bubbles In Nail Polish
FAQs
1. Does bloodless water dry the nail polish faster?
Yes, bloodless water fastens the nail polish drying process. Dip your painted nails in cold water for three to five minutes. The ice water thickens the polish, so it dries quickly.
2. Can you operate hairspray to dry nails?
Yes, using hairspray to dry nails is an effective hack. You may preserve the hairspray about 8 to 10 inches away from the nails and spray.
3. Do nails dry faster with hot or cold air?
Bloodless air allows the polish to harden. So, it’s very effective to apply bloodless air to dry the nail polish.